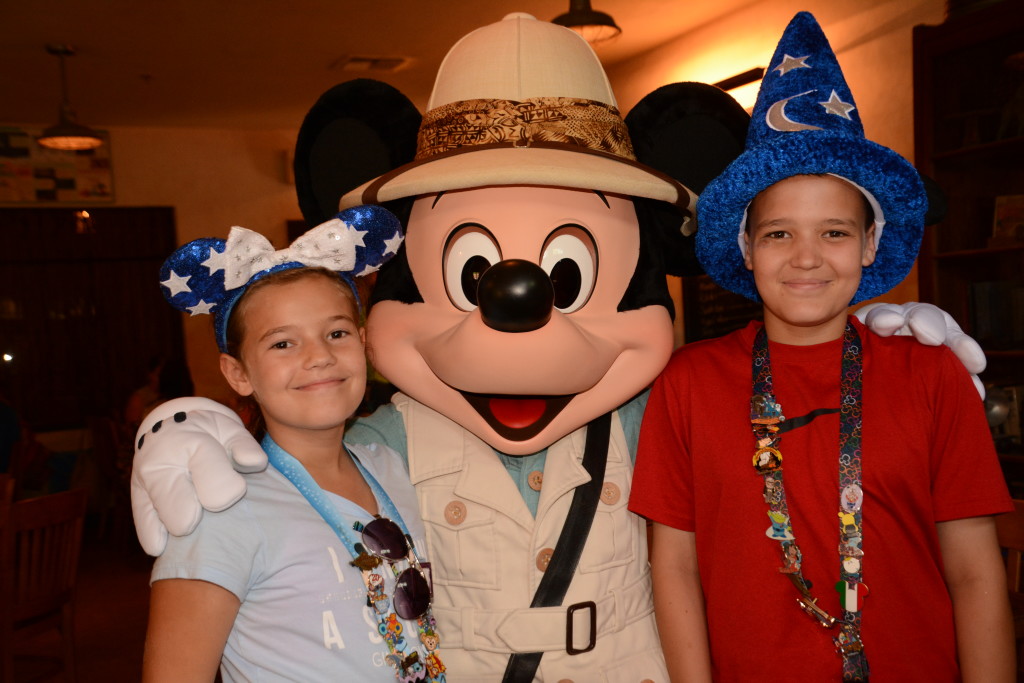
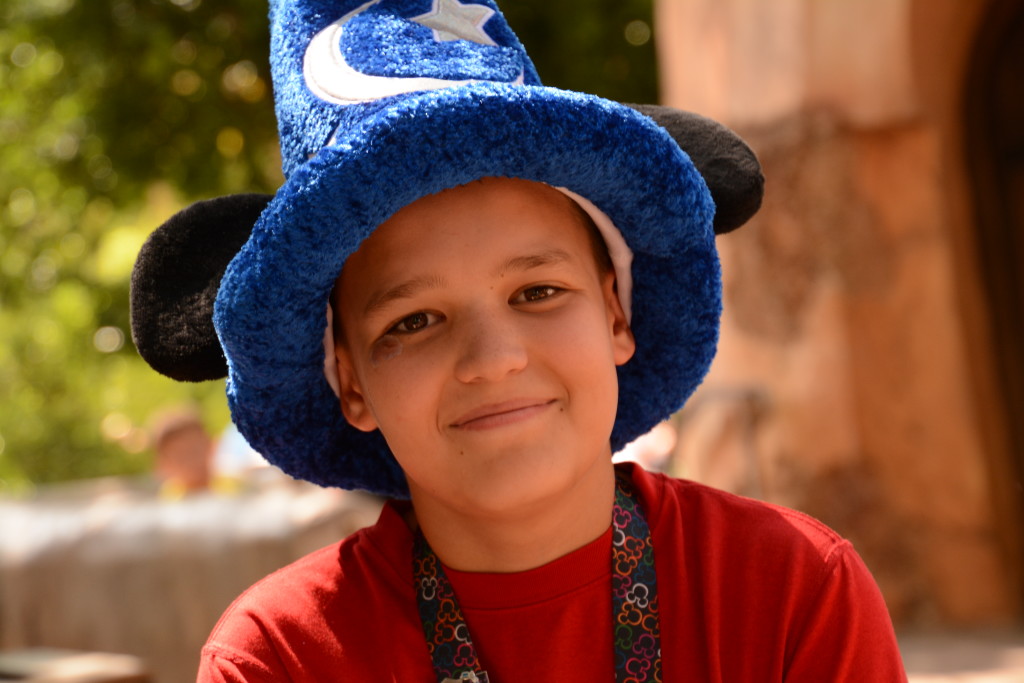
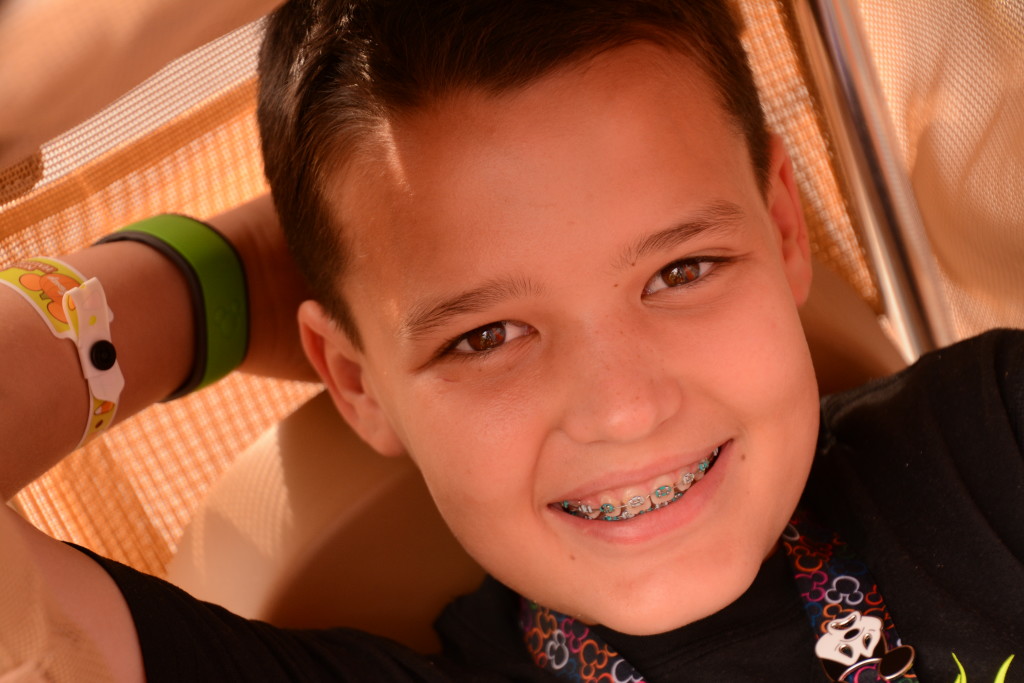
I love taking photographs. Photographing our Disney vacations is no exception. With all the Disney characters and beautiful sights to see at Disney Parks & Resorts, Disney vacations are a goldmine for amateur and professional photographers alike! Rest assured – whether you’re using an iPhone, a $100 camera, $500 camera, or a $2,000 camera – you WILL get great photos when you’re on a Disney vacation. Those photos will provide memories for a lifetime and are SO worth taking. Today, I’d like to share a few tips that will take your photography to the next level. So sit back, relax and enjoy. This is an easy read post. Nothing big, nothing earth shattering here. Just a few helpful hints to consider when photographing your Disney vacation!
Tip #1: Take photos of magical moments.
There’s definitely an art to capturing magical moments through photography. In order to experience or witness those magical moments, you need to be fully open, fully present, fully in the moment, fully aware of what’s going on around you. With that in mind, don’t be obsessed about taking photographs of every single moment all day long. You might miss magical moments. You might miss your vacation! However, when you DO see or experience magical moments, enjoy them in real time as they unfold, then capture the magic with a photograph or two to mark the memory.
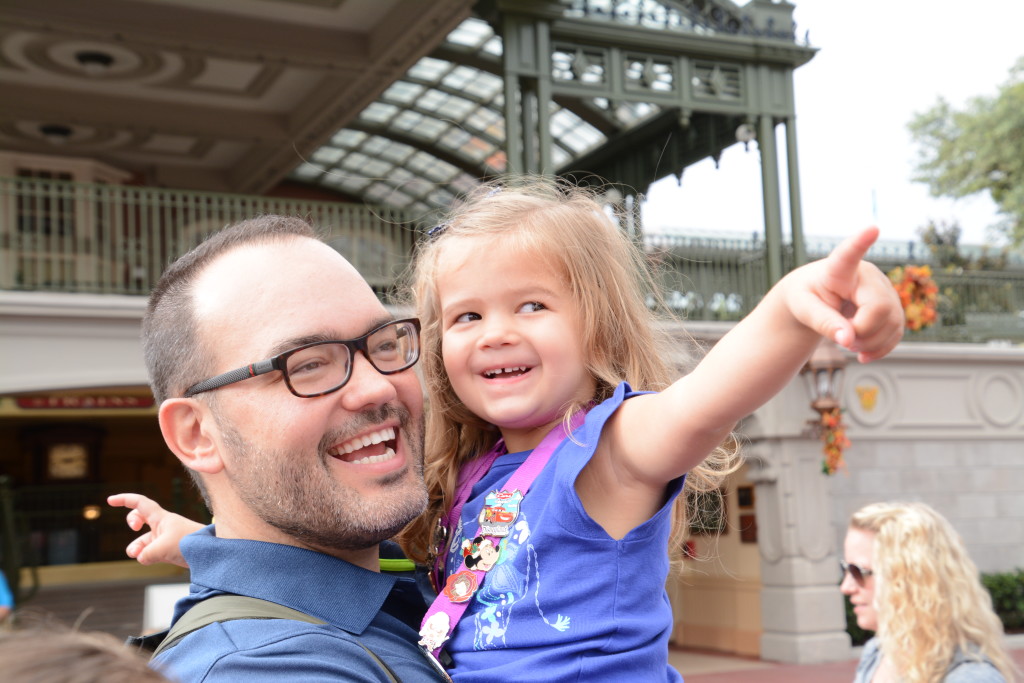
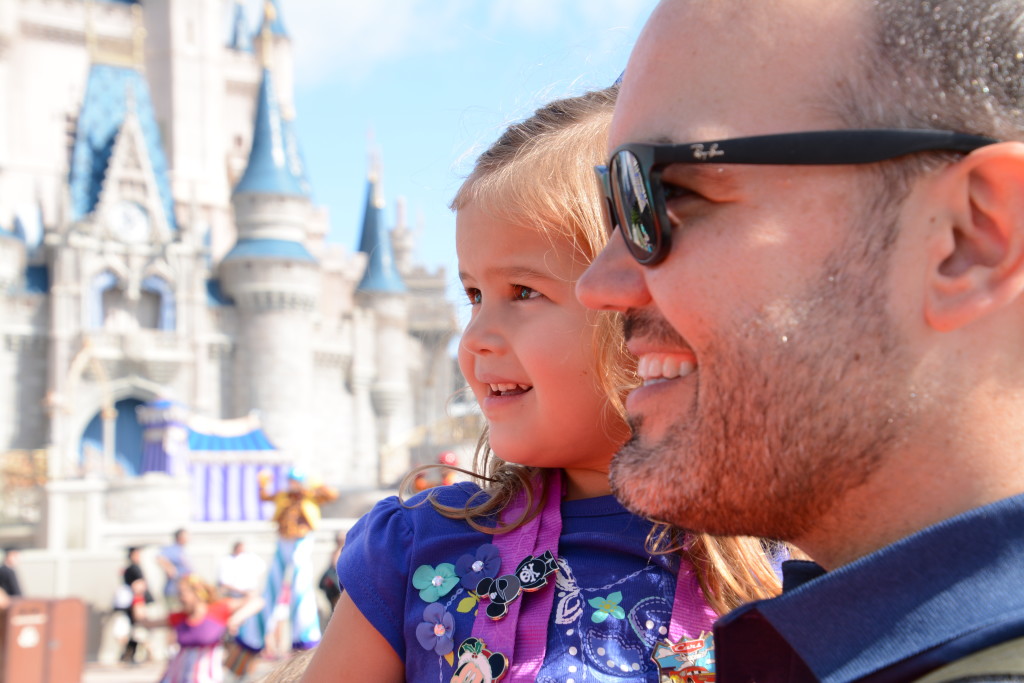
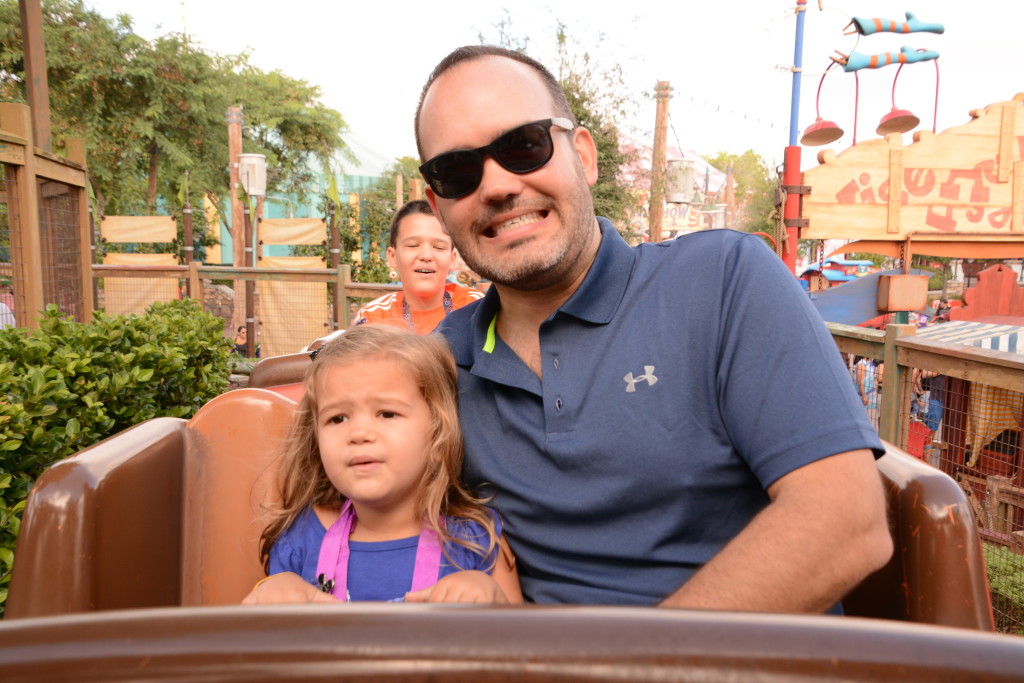
When we visited Magic Kingdom on our most recent vacation to Disney World, I knew my youngest daughter would be seeing Cinderella’s castle for the first time. In order to prepare for the moment, I got my camera out after we entered the gates. When we turned the corner into Magic Kingdom where I knew she’d see the castle for the first time, I watched and waited expectantly for her reaction. I was fully present for that special magical moment, but I also took some time to snap a few photos of her smiling and pointing to the castle while in her daddy’s loving arms. It was a special moment. I’m incredibly thankful that I captured it with photographs. She’ll never have a first look at that castle again. Now, we can remember that magical moment for a lifetime.
Tip #2: Take photographs in obvious and not-so-obvious places around the Disney Parks.
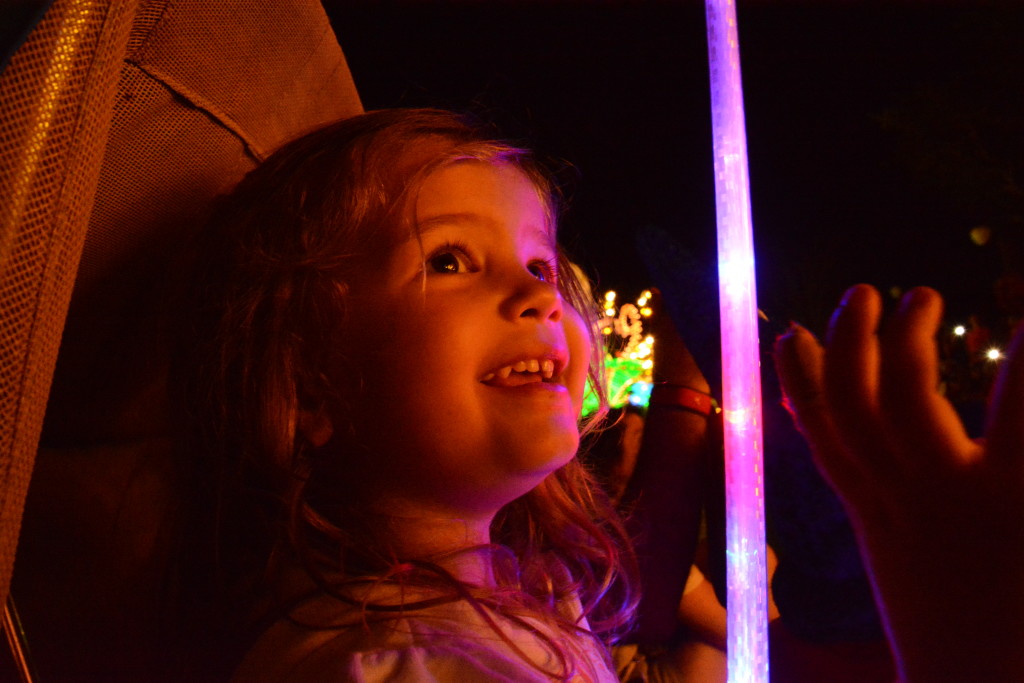
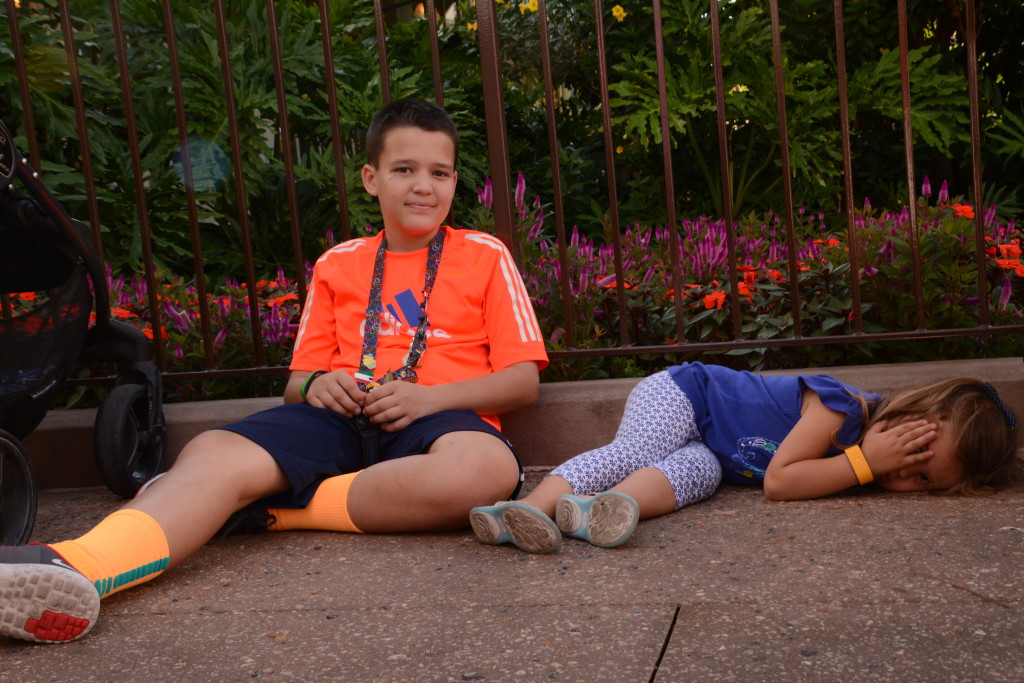
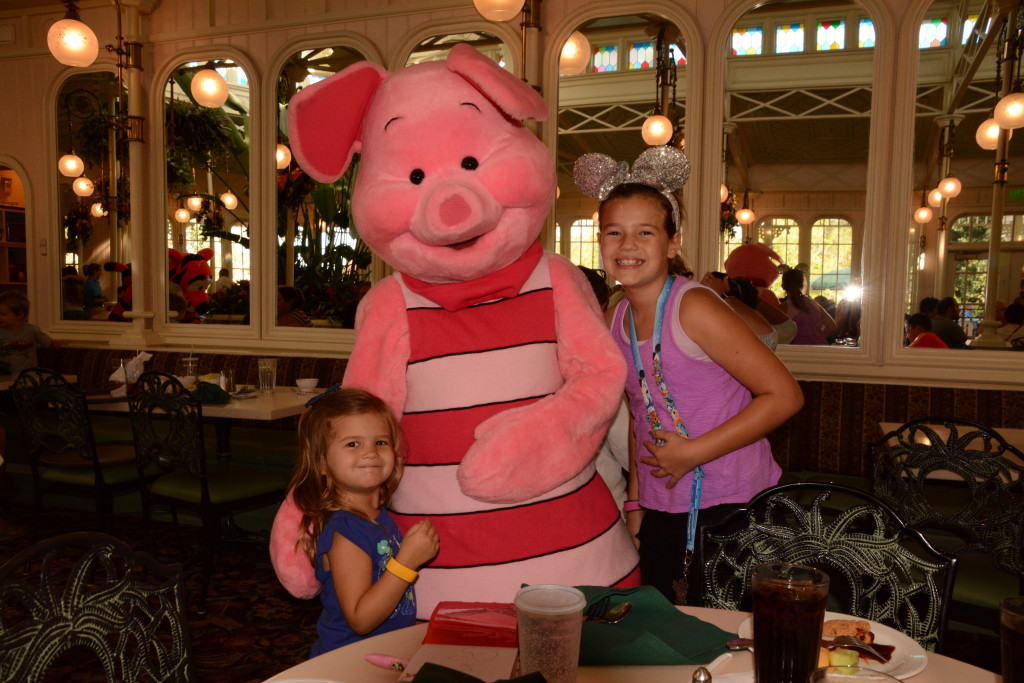
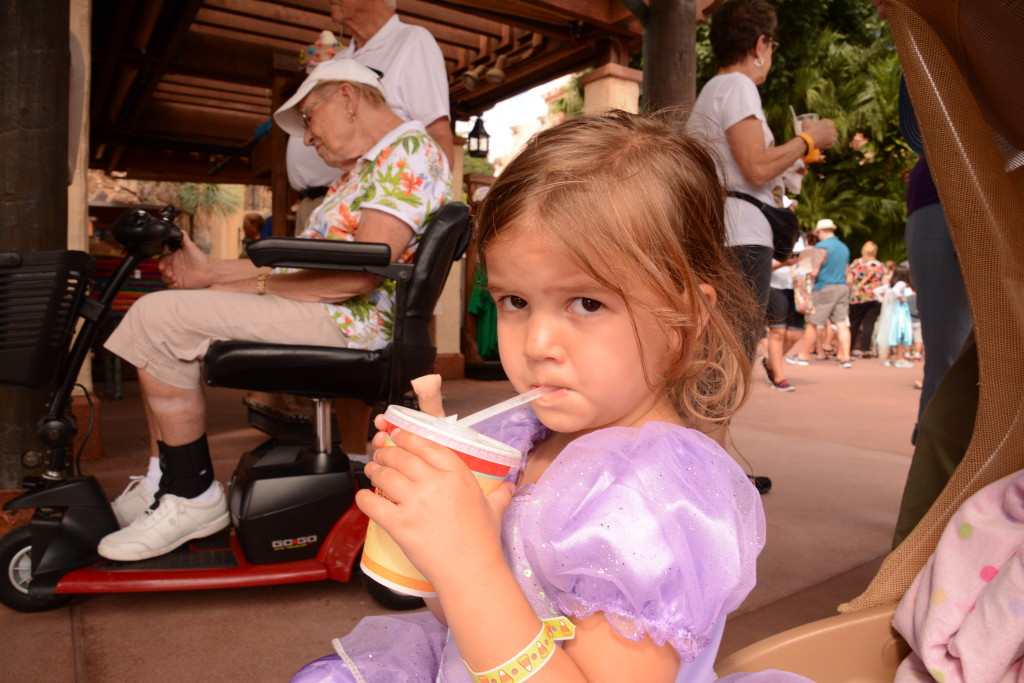
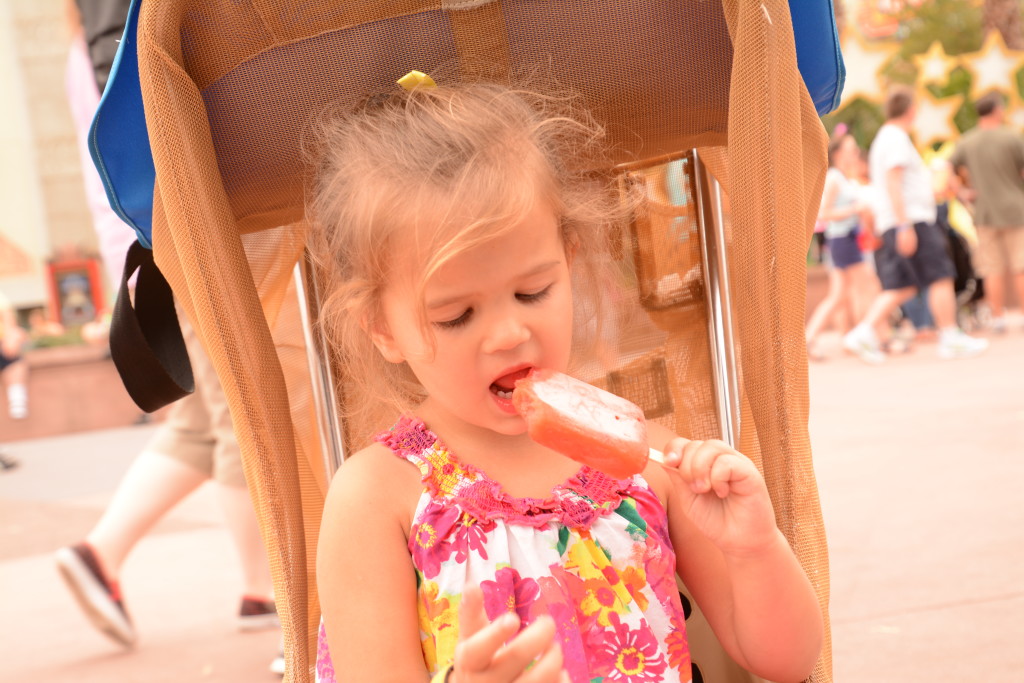
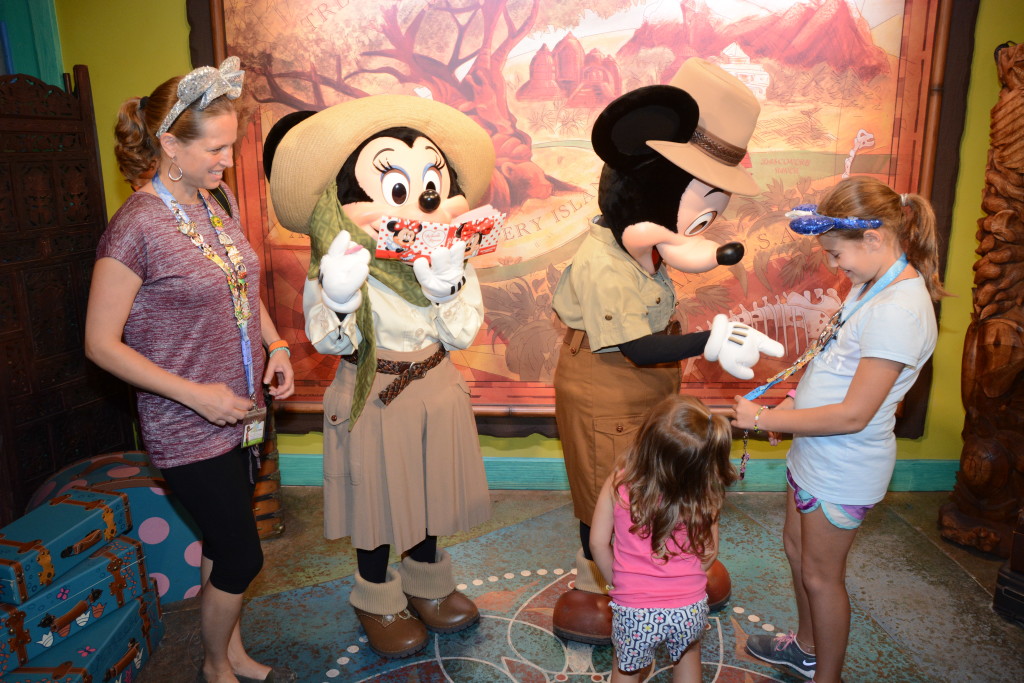
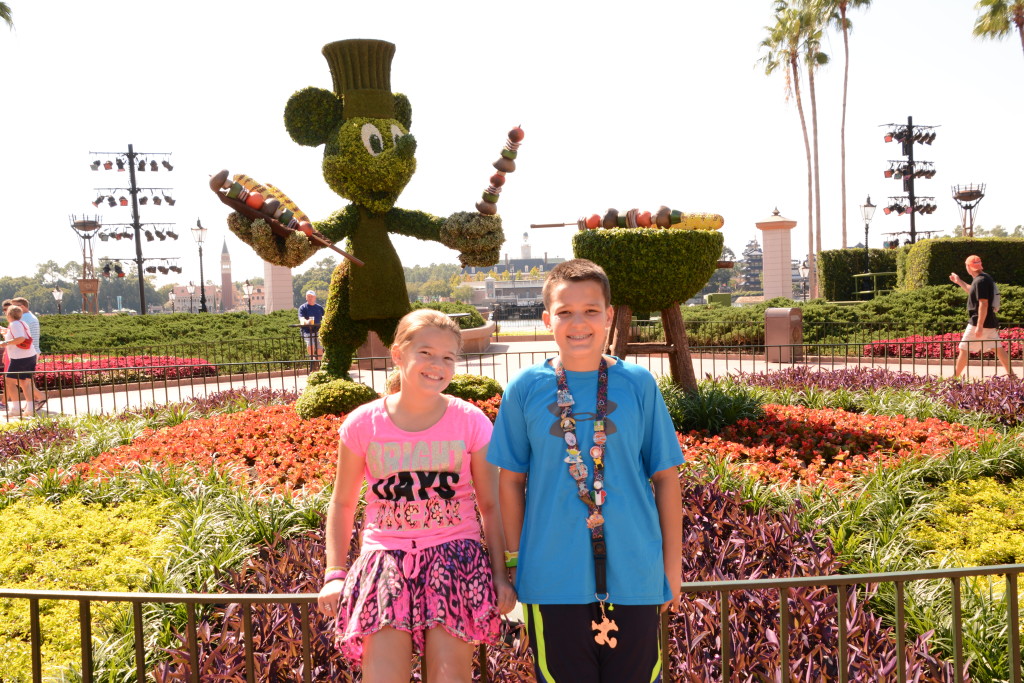
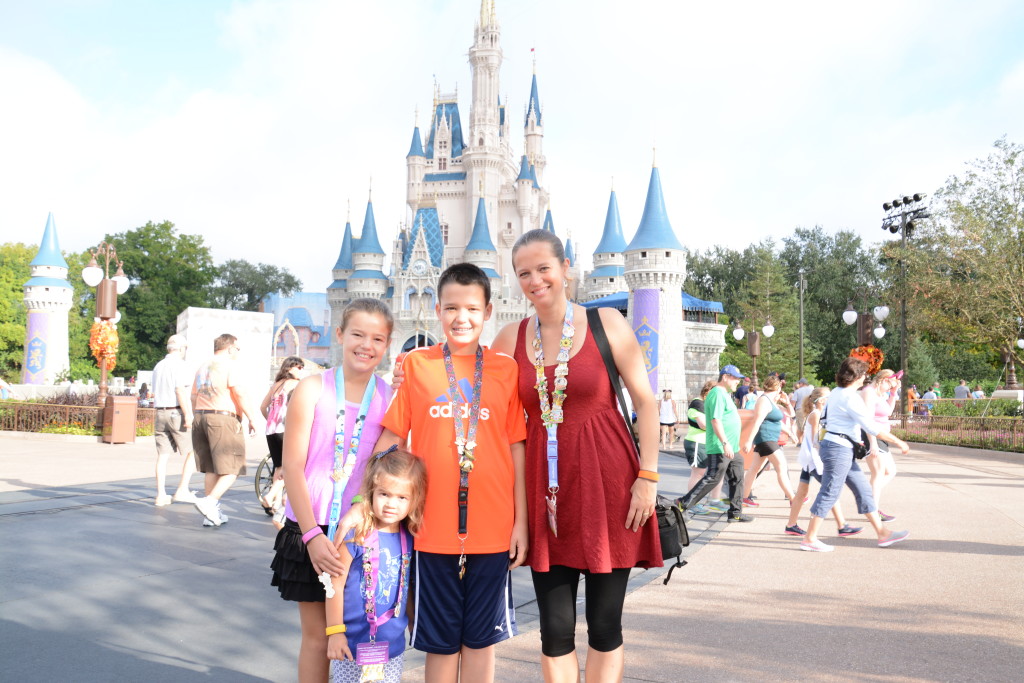
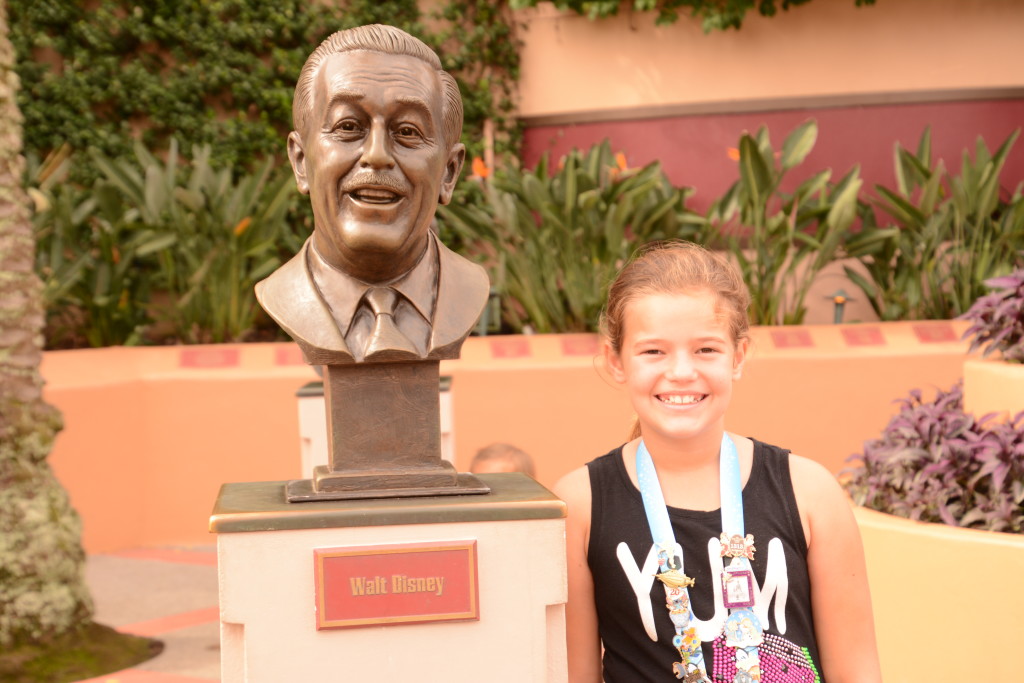
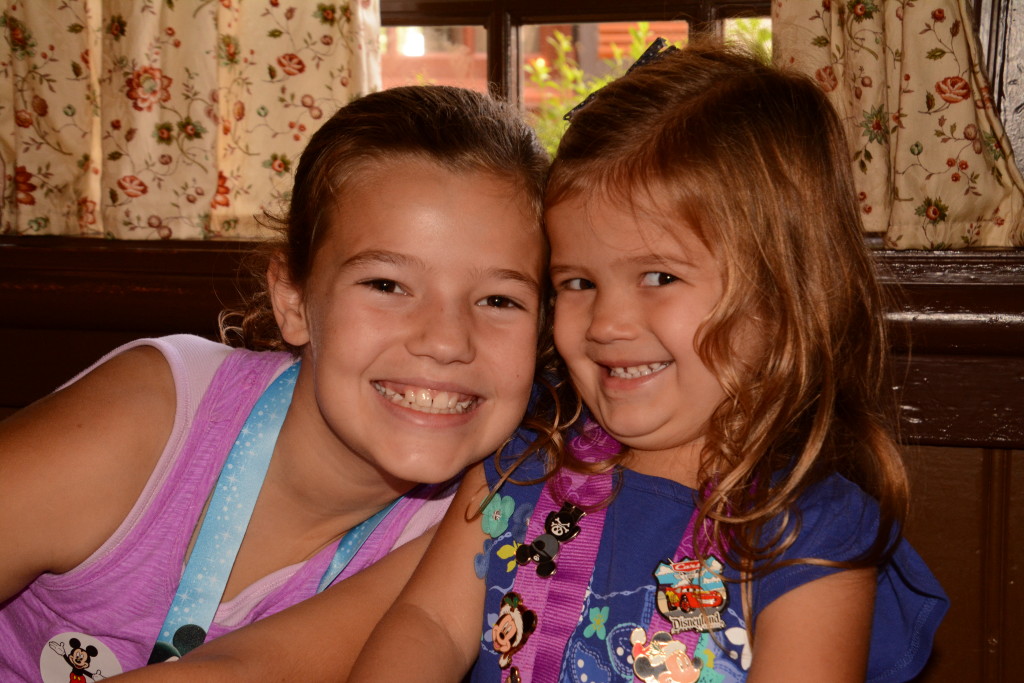
You’ll definitely want to take photographs by Cinderella’s Castle at Magic Kingdom, Tower of Terror at Hollywood Studios, Spaceship Earth at Epcot, and The Tree of Life at Animal Kingdom. Take several photos by those classic, key landmarks. But may I suggest that there are other, less obvious places to photograph around Disney Parks? Photograph your teens waiting in line for a roller coaster, photograph your parents enjoying dessert together at a Disney sit-down restaurant, photograph your child asleep in his stroller with his Mickey ears on, photograph your tweens eating character waffles for breakfast, photograph your children watching parades. Big moments and little moments, they’re all worthy of capturing at Disney Parks. You never know what’ll turn out to be your favorite photograph from your Disney vacation. Shoot up a storm, friends! When it comes to photographs, it’s my philosophy that more is better. More photographs mean more photos to choose from when you get home. More photographs mean more memories of your Disney vacation. Big and small moments, obvious and less-obvious locations, all Disney moments are worth remembering.
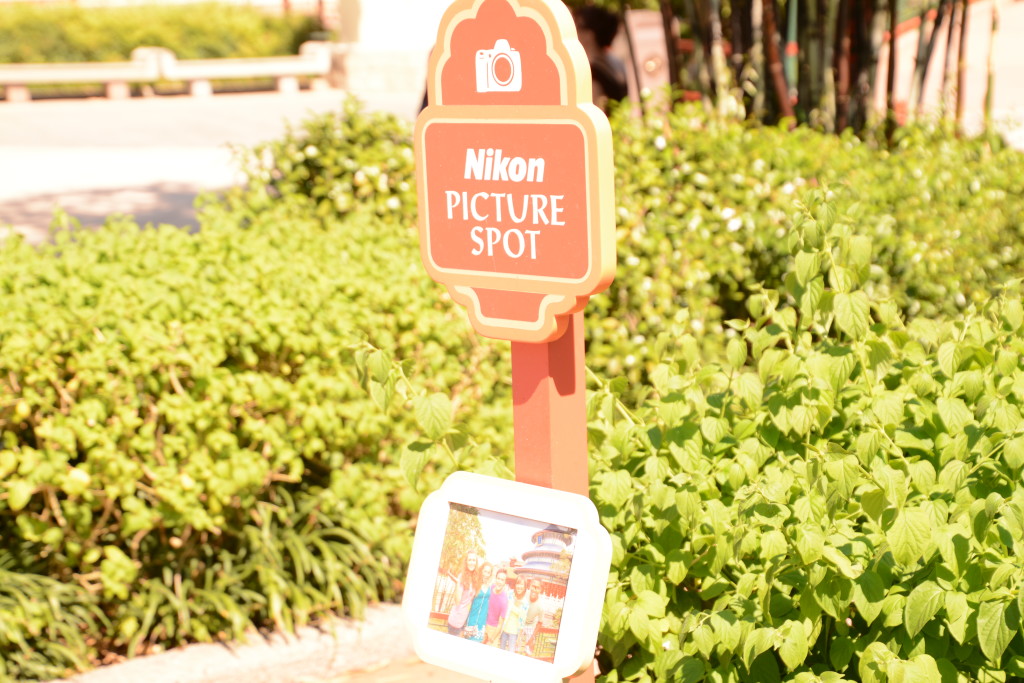
Tip #3: Take advantage of the “Nikon Picture Spot” signs Disney has strategically placed around the Parks.
As you walk through Disney Parks, you’ll see small signs here and there labeled “Nikon Picture Spot.” These are spots that Disney has determined to be IDEAL spots for taking pictures. If you see one of these signs, there’s a good chance that if you take a photo there, it’s going to turn out great! So why not?! Stop. Take a photo. Take the leg work out of photographing your Disney vacation. Make it easy on yourself. Get your party to stand near or in front of that sign, and voila! You’ll have yourself a beautiful photograph and Disney memory!
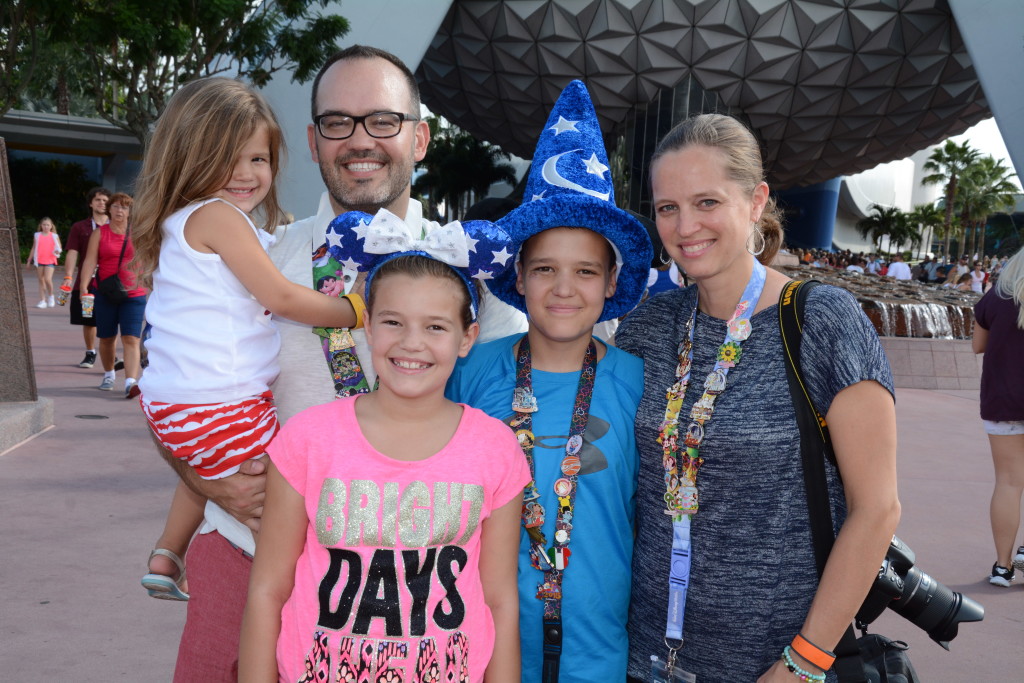
Tip #4: Have Disney photographers take your picture! Use Disney’s PhotoPass or purchase a Memory Maker.
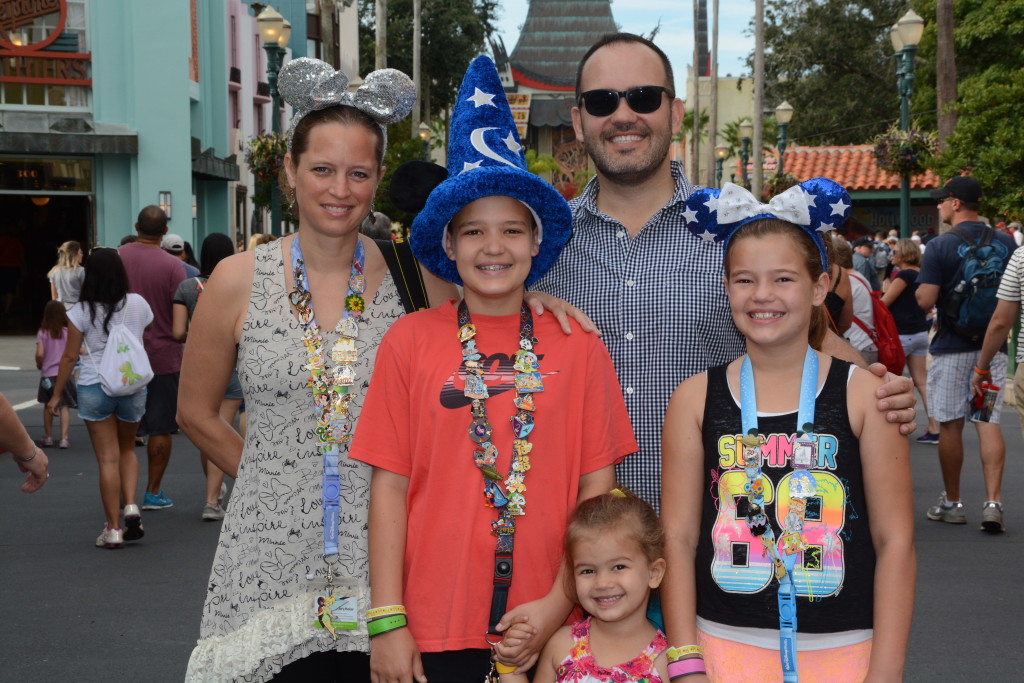
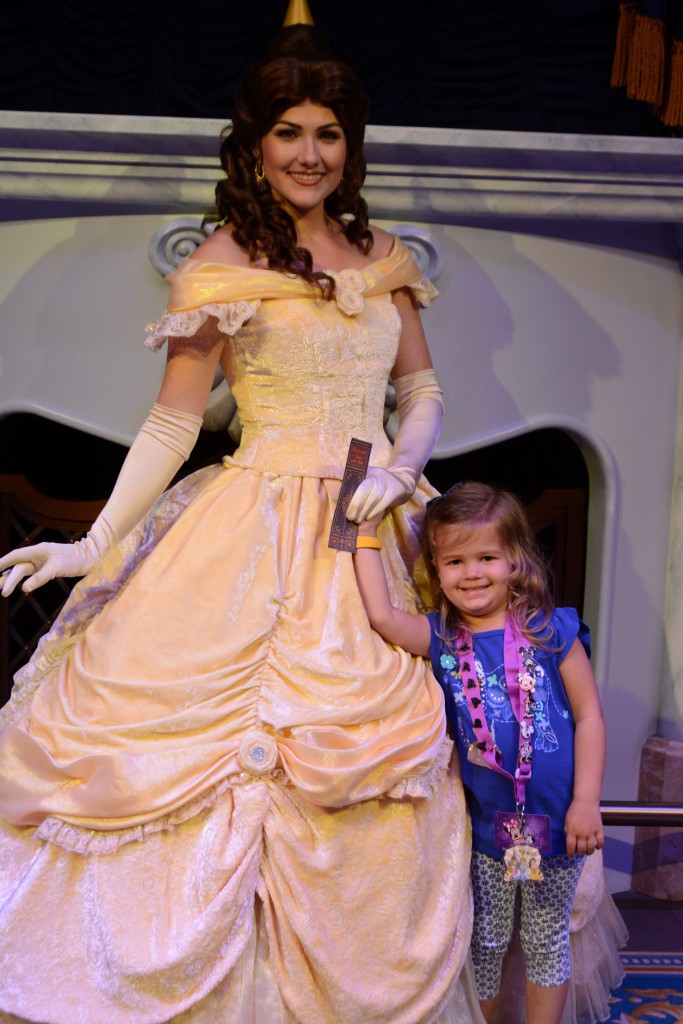
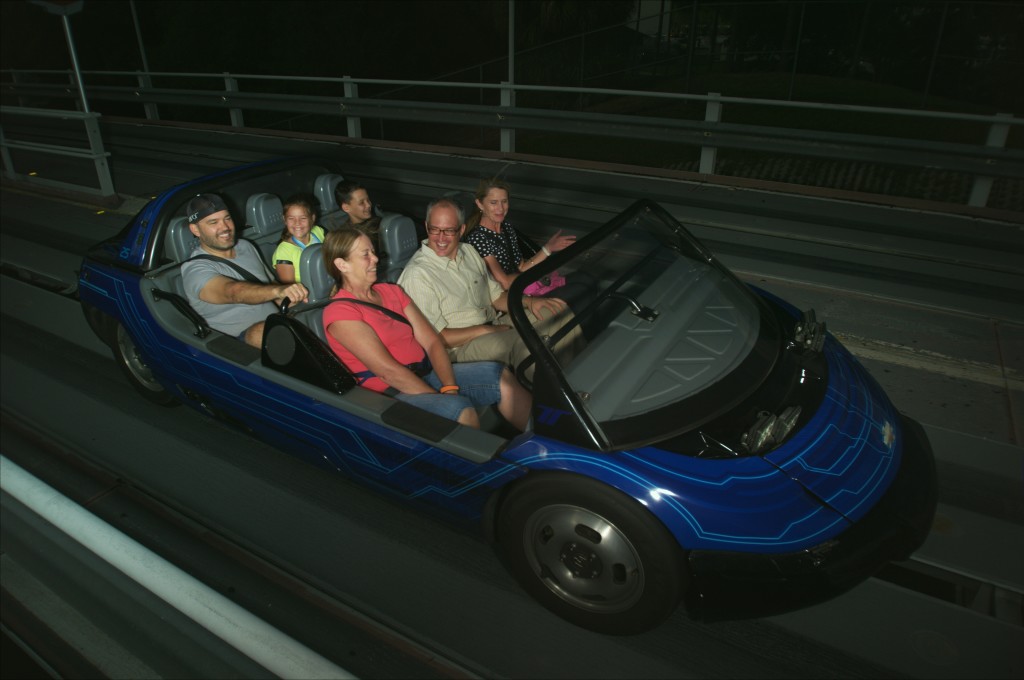
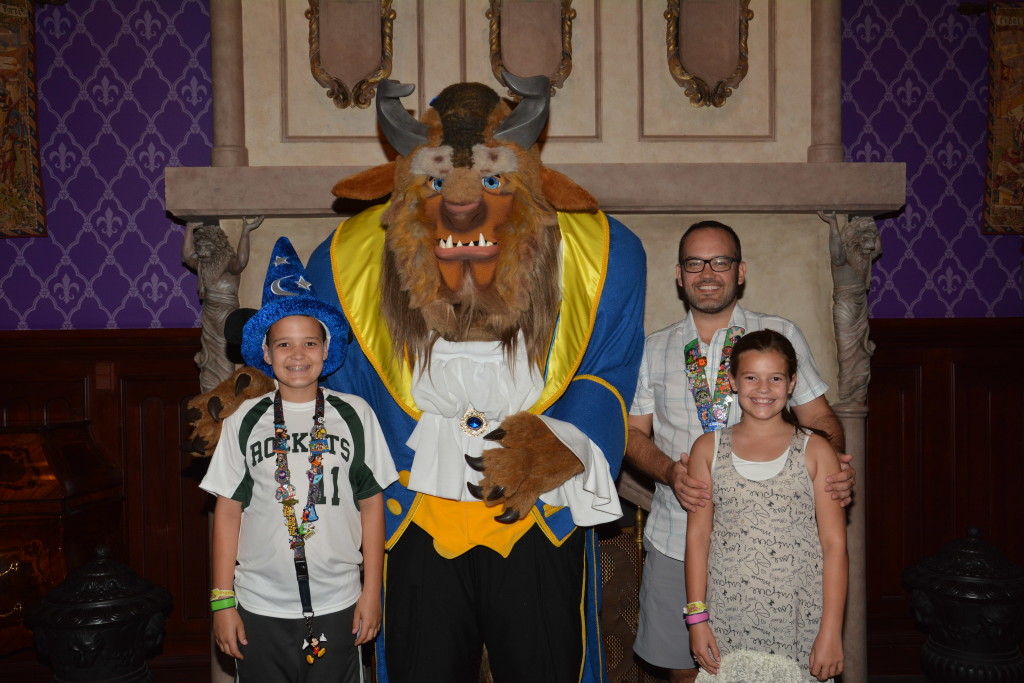
Disney has professional photographers located all over the parks at key locations. Their job is to take photographs of Disney guests, so take advantage of this great opportunity to get beautiful, high quality photos of your entire family. Disney photographers are pretty obvious. You can’t miss them. They’re usually in a Disney vest and hat of some sort, and have a big camera around their neck. They’re almost always taking photographs, and they almost always have some sort of line waiting to take advantage of their service. If you want them to take your photograph, just get in line and they’ll take it for you! You’ll receive a Disney PhotoPass card which you can use to find your photos online, or they’ll scan your Magic Band; all the photos you take around the parks will be connected to a unique account number so they can be stored and viewed in one place online. During or at the end of your Disney vacation, you can look through your photos and purchase them individually, or as a full collection. When you purchase the “Memory Maker,” you pay a set price and get access to ALL the photographs Disney photographers took of you during your vacation. If you purchase the Memory Maker in advance of your vacation, they give you a $30 discount. We purchased the Memory Maker on our recent Disney vacation because we knew we were going to use Disney photos for our Christmas card and wanted them to be nice. They scanned our Magic Band every time we took photos, and now we have access to all the photos in one place online. All we have to do is click “Download” and voila, the photo is on our desktop and we have full rights to use it as we please.
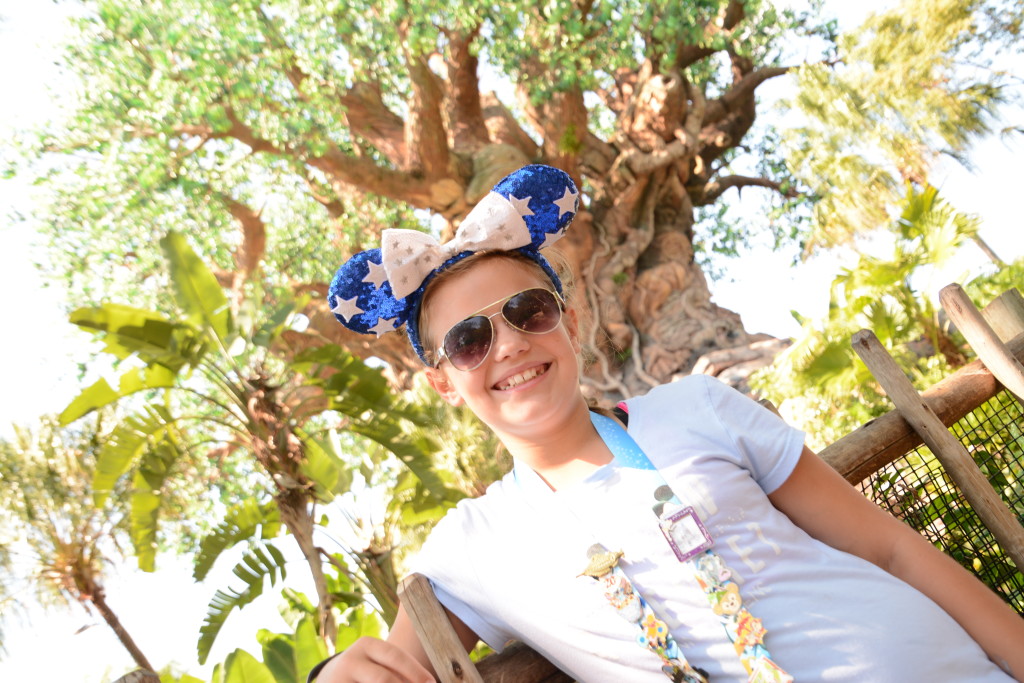
Tip #5: When you’re at the Disney Parks, wait to photograph key landmarks until you’re CLOSER to the landmark.
When you’re at Disney Parks, you’ll notice people taking photographs at various locations in front of major landmarks. For example, when you walk down Main Street towards Cinderella’s Castle at Magic Kingdom, you’ll notice photographers taking pictures at numerous locations all the way down Main Street. It’s totally fine and good to take your photograph by the castle when you first enter Main Street, but the photo is likely to be BETTER if you wait and walk further down Main Street so you’re closer to the castle. This is just my humble opinion, and perhaps some photographers would disagree. I suppose it depends on which Park you’re at and which landmark you’re photographing. But generally speaking, wait to take your photograph until you’re closer to the landmark rather than further away. The landmark will be more prominent in the photograph, which will make the photograph and memory more impactful.
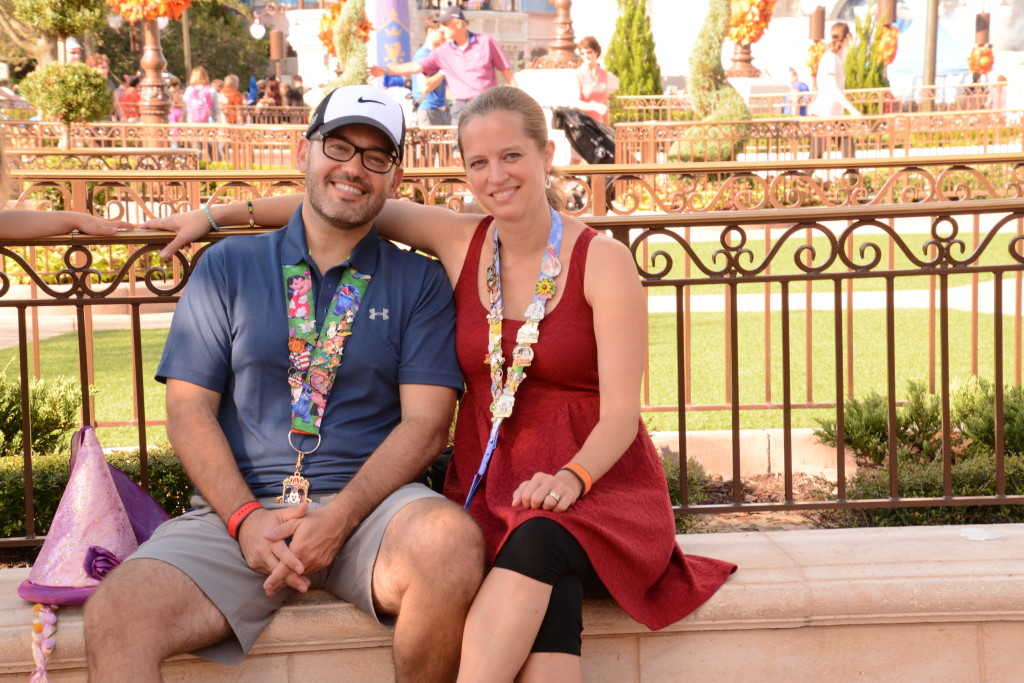
Tip #6: Have a variety of family members (and friends) help photograph your Disney vacation.
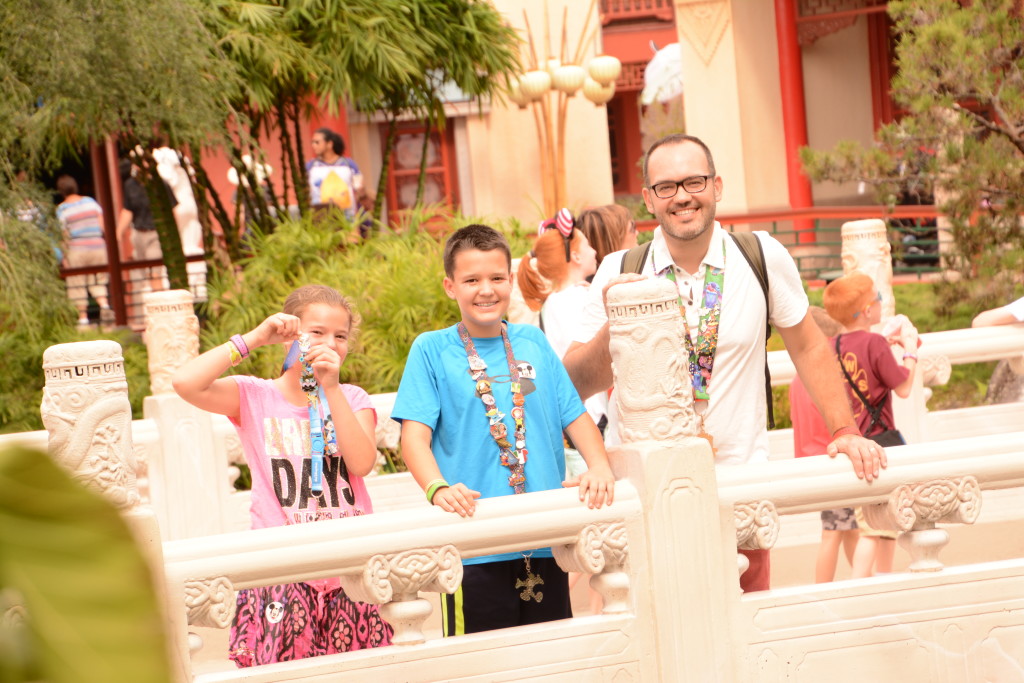
Because I love taking pictures and hold the camera most of the time, I tend to be the one who photographs 90% of our Disney vacations. However, I must admit that it is nice when my husband offers to take some pictures, not only of me, but of our children. It takes the photography burden off me for a bit, and allows me to be in the photos as well. May I suggest having your older children and teens take a few photographs, too? Their perspective is unique, and might get you some cool photos you might not have gotten otherwise. As long as you trust them with the camera, and teach them how to take a photo with it, you should be good to go for a few minutes at least! Having a variety of family members and friends take pictures is an easy and inexpensive way to diversify photographs from your Disney vacation!
That’s it, friends! Those are all the notes I took about photography during our most recent vacation to Disney World. I hope this post has provided a few extra hints that’ll help as you photograph your next Disney vacation. Whatever you do, make sure to capture the magical moments! Photographs mark the memories for a lifetime and beyond.

 This post is part of a month-long series titled 31 Days of Disney! If you’d like to read more posts from the series, click here and you’ll be directed back to the 31 Days of Disney landing page. ALL posts from the series are linked within the body of that post. Find a title or topic that intrigues you, click on it, and the post will pop up for your Disney reading adventure!
I also placed the series graphic on the right sidebar of my blog’s home page, so click it anytime and it’ll bring you back to the 31 Days of Disney landing page where all 31 posts are listed and linked.
You can follow me on Twitter at twitter.com/AmyBPederson where I’ll tweet links to all 31 posts using hashtag #write31days. I’d LOVE to connect on Facebook at facebook.com/AmyBPederson and Instagram at instagram.com/AmyBPederson.
So glad you stopped by! Make yourself comfortable. Take a peek around the place, and know you’re welcome back anytime.








I’m chuckling at tip #8. My son would definitely agree. We went to Disney 3 years ago and he still talks about that ride. I get mixed up on which is the more tame, green or orange, but either way we did the tame one first and it seemed not so bad so we went again and did the other one. Phew….I may still not be recovered from that ride. LOL! Great tips!!!
Hey Vicki! To be honest, I’ve never gone on Mission:SPACE myself! I’m too scaredy cat!! I would probably get sick. Good for you for going on it not just once, but twice!! You brave mama! You COOL mama! 😉